
I am so happy to share something special with you today! It's one of my video tutorials from my website, A Good Quilt, and it includes a printable instruction sheet that goes along with lesson!
I wanted you to see an actual video from the library inside A Good Quilt, where currently, over 70 tutorials are organized into categories. And...new things are added every Friday! So, hop on over and enjoy this little treat from me to you. There is no obligation whatsoever!, so, enjoy! Maxie. https://www.agoodquilt.com/peek-inside

Maxie Makes Subscription Sewing Box - August 2018
Want a peek inside the August 2018 Maxie Makes Subscription Sewing Box? Click the video below! This month features Bonnie Christine's newest fabric line, Gathered, for Art Gallery Fabrics. We brought a project that was requested several times when I polled earlier subscribers: Paper Piecing! Whether you love it or avoid it at all costs, with the help of my friend, Sarah Overton, you'll overcome any hesitations quickly with her expert tips and attention to detail in her original patterns. This month we make the Tony Danza Mini Quilt!

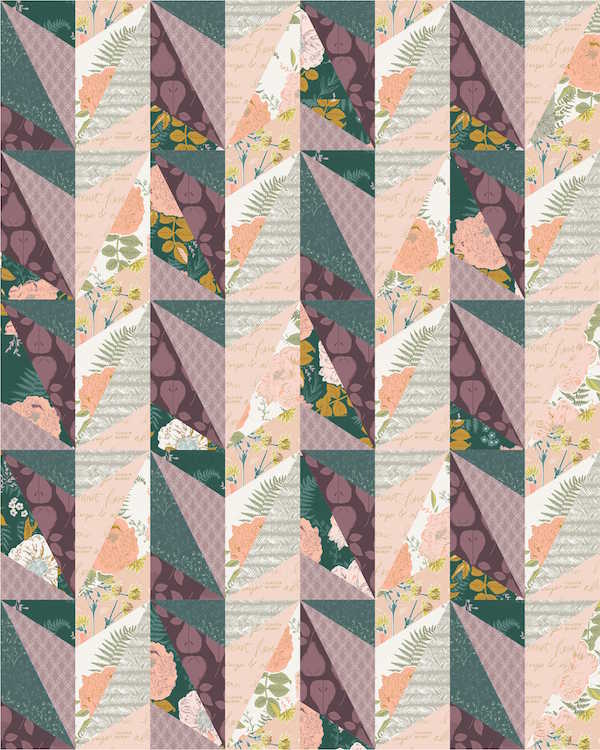

Just to give you a glimpse of the planning that went into this month's box, one of the first steps I usually take is to create a mock up of the project. The one above, left, was made in EQ8, quilt design software. I imported images of Bonnie's fabrics and and had fun creating with Sarah's block design. With a few final changes, the outcome, right, was fairly predictable!
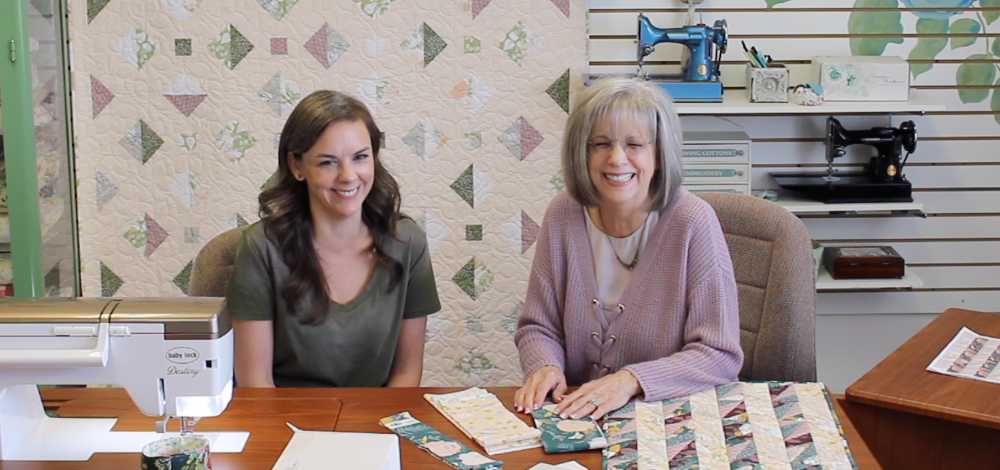
Because Sarah is such a great teacher of paper piecing, I asked her to help with the video tutorial and we had so much fun that day! There were plenty of giggling bloopers, but we ommited them for the sake of respectability.
Join the learning fun! Click here to subscribe! Thanks for stopping by!
Happy sewing and God bless! Maxie
Binding the Quilt: A Video Tutorial!
I have two reasons for today's post. First of all, I've received several requests to publish a video tutorial on the topic of quilt binding. Second, this month's Maxie Mail box contains a quilt project, binding included, and I wanted to provide information for the beginner quilter as well as the experienced. Hence...the video tutorial, "Binding the Quilt" was made!
Read MoreDon't Fear the 'Y Seam'.
I promise 'Y Seams' are easy. Not sure what a 'Y Seam' is? Just as the name implies, it is three seams that come together at one point and form the shape of the letter 'Y'. Dissect a Y and you have three lines. Stitching such a seam is really very easy, but most quilters avoid doing so because they don't understand the construction or they think it might be too time consuming. Let's dispel those fears! I made the hexagon quilt below, and every seam is a 'Y Seam'! (Free pattern by Bonnie Christine and Maxie Makes!) Kit with precut hexies here.

This quilt really went together pretty fast, because there are no blocks to piece, and only simple seams to sew the hexies together. The picture below is a quilt unit from my current project that includes several 'Y Seams'. (At the end of this post is a link to the designer's website, where you'll find great construction tips and the free pattern for the quilt!)
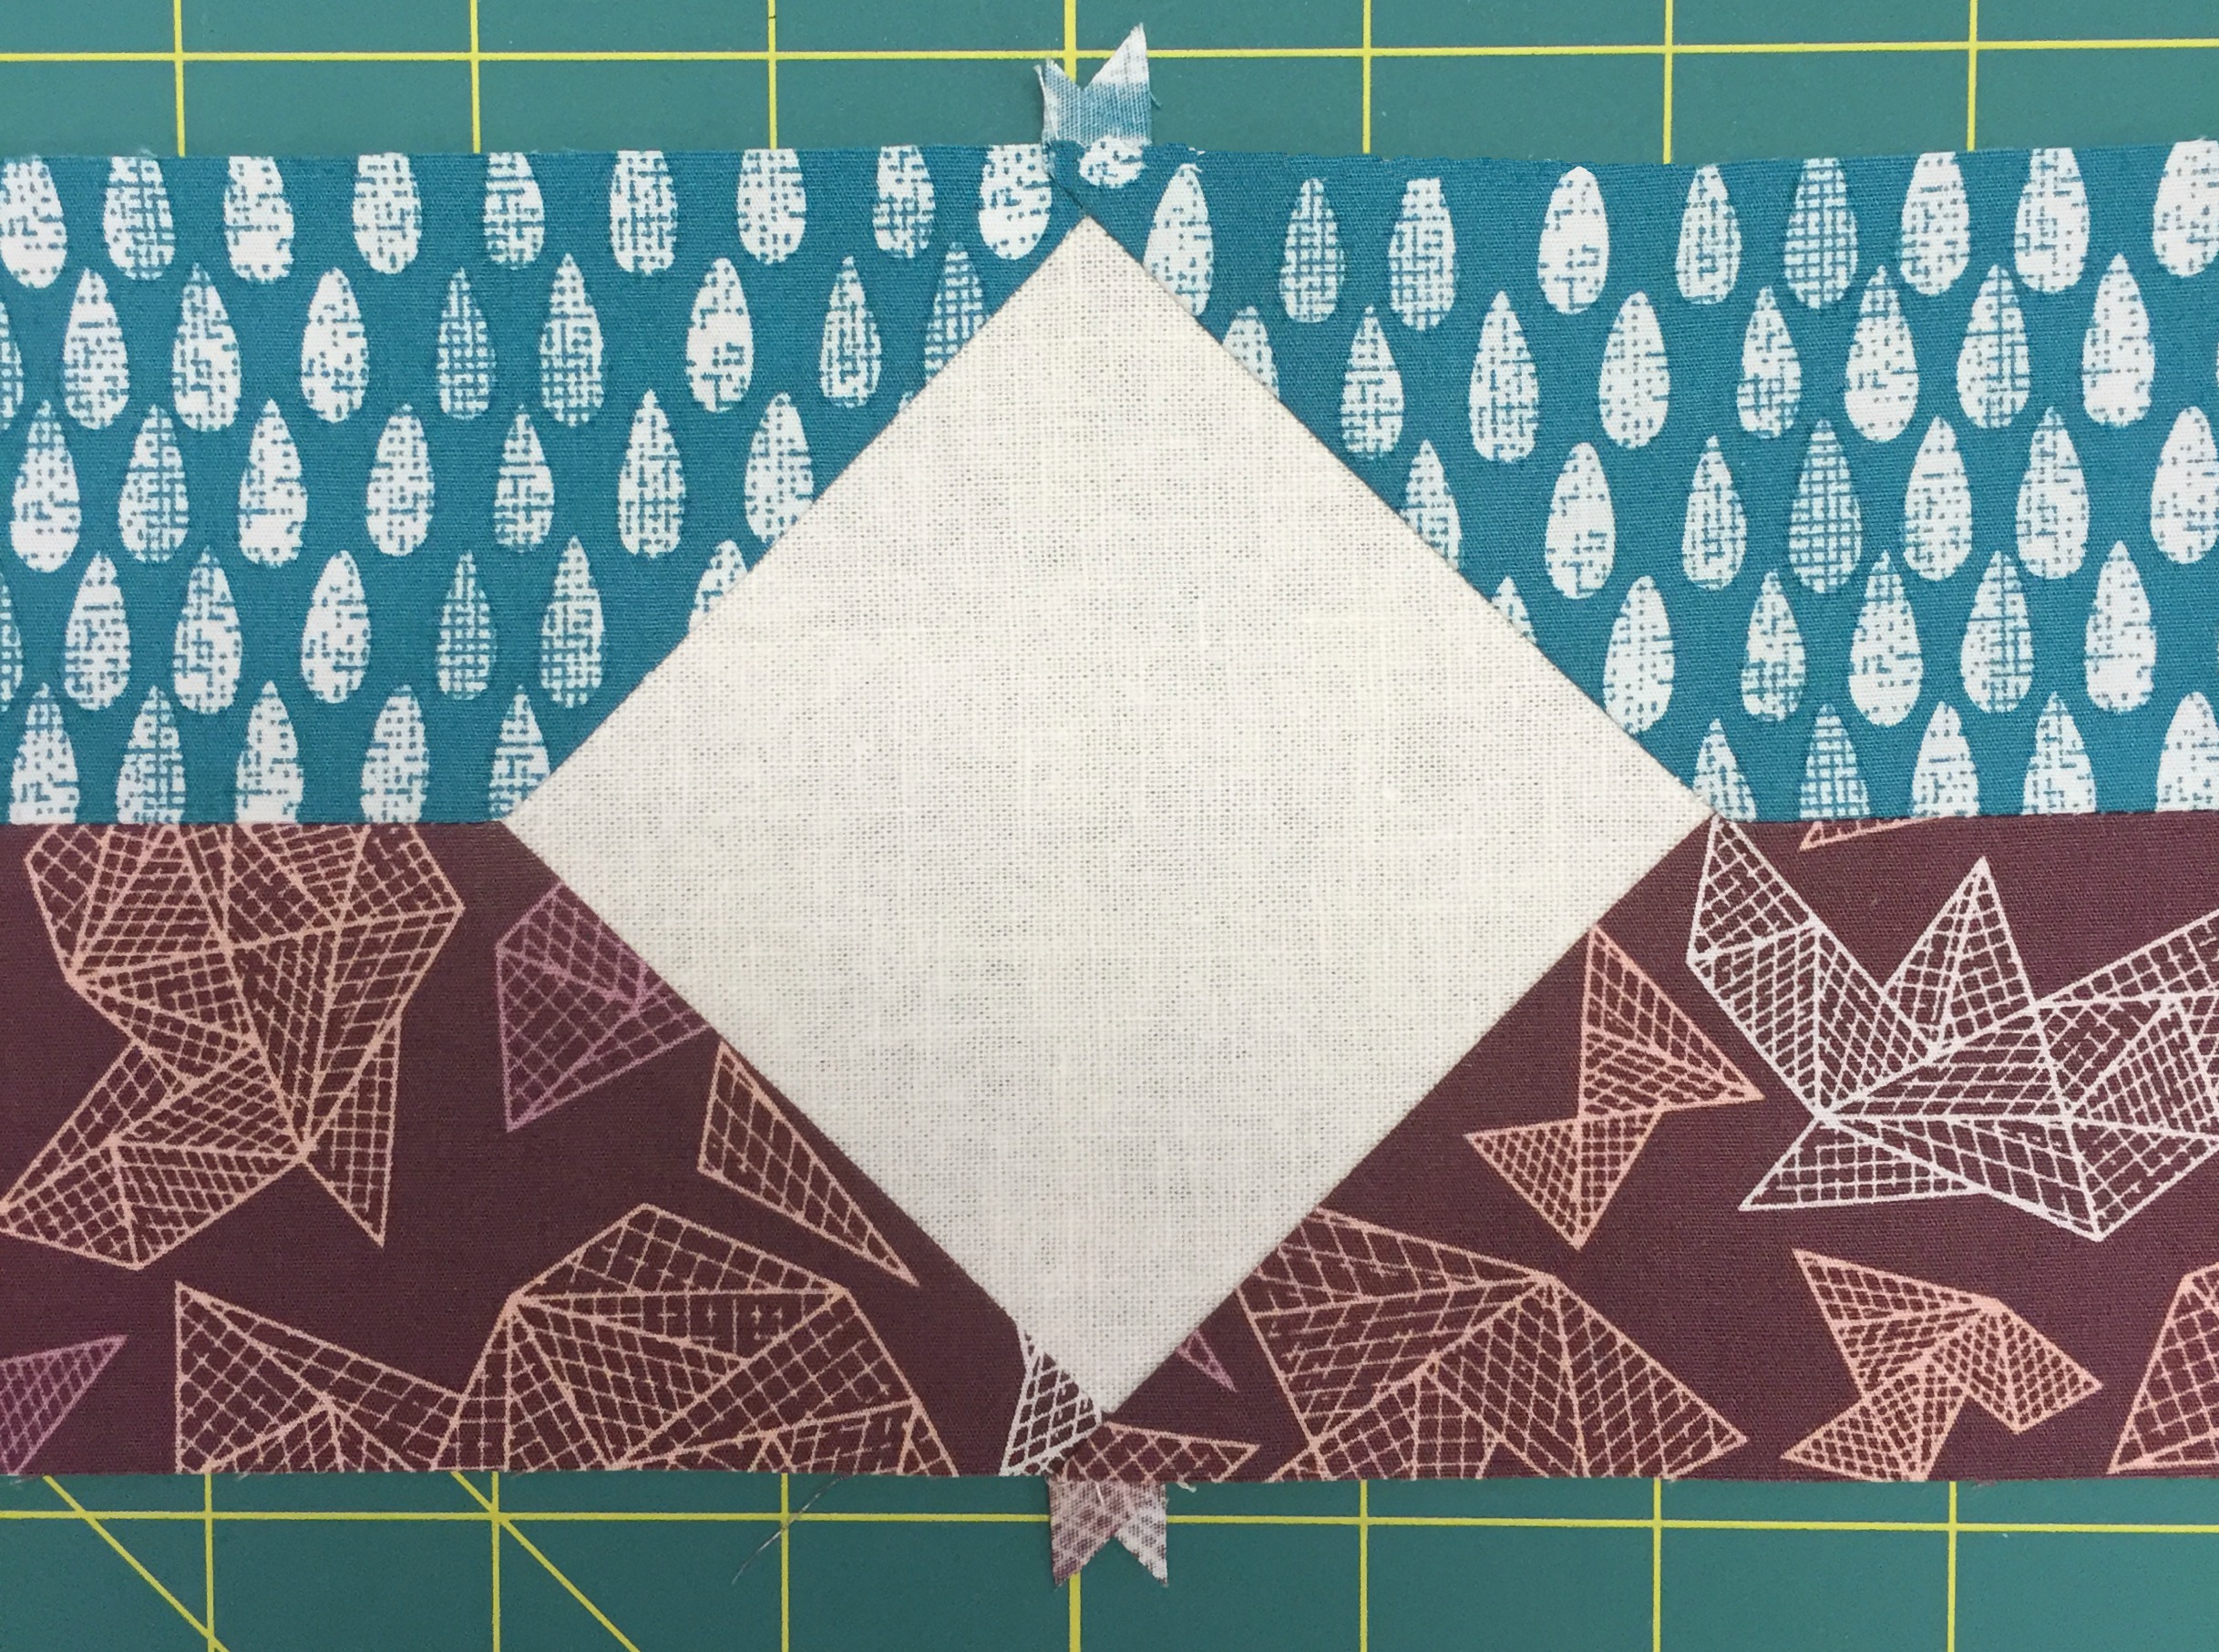
So, you see above two fabric strips that have a linen square sewn between them, in the seam. When I first saw the picture of this quilt on The Purl Bee's blog, I thought the squares were applique´d in place. Ah, no, those are all 'Y Seams'. Ok! The first step is to cut the ends of each of the four strips at 45º angles. The Purl Bee's blog shows how to prepare these strips. They are then sewn together, forming the first seam of the 'Y'.
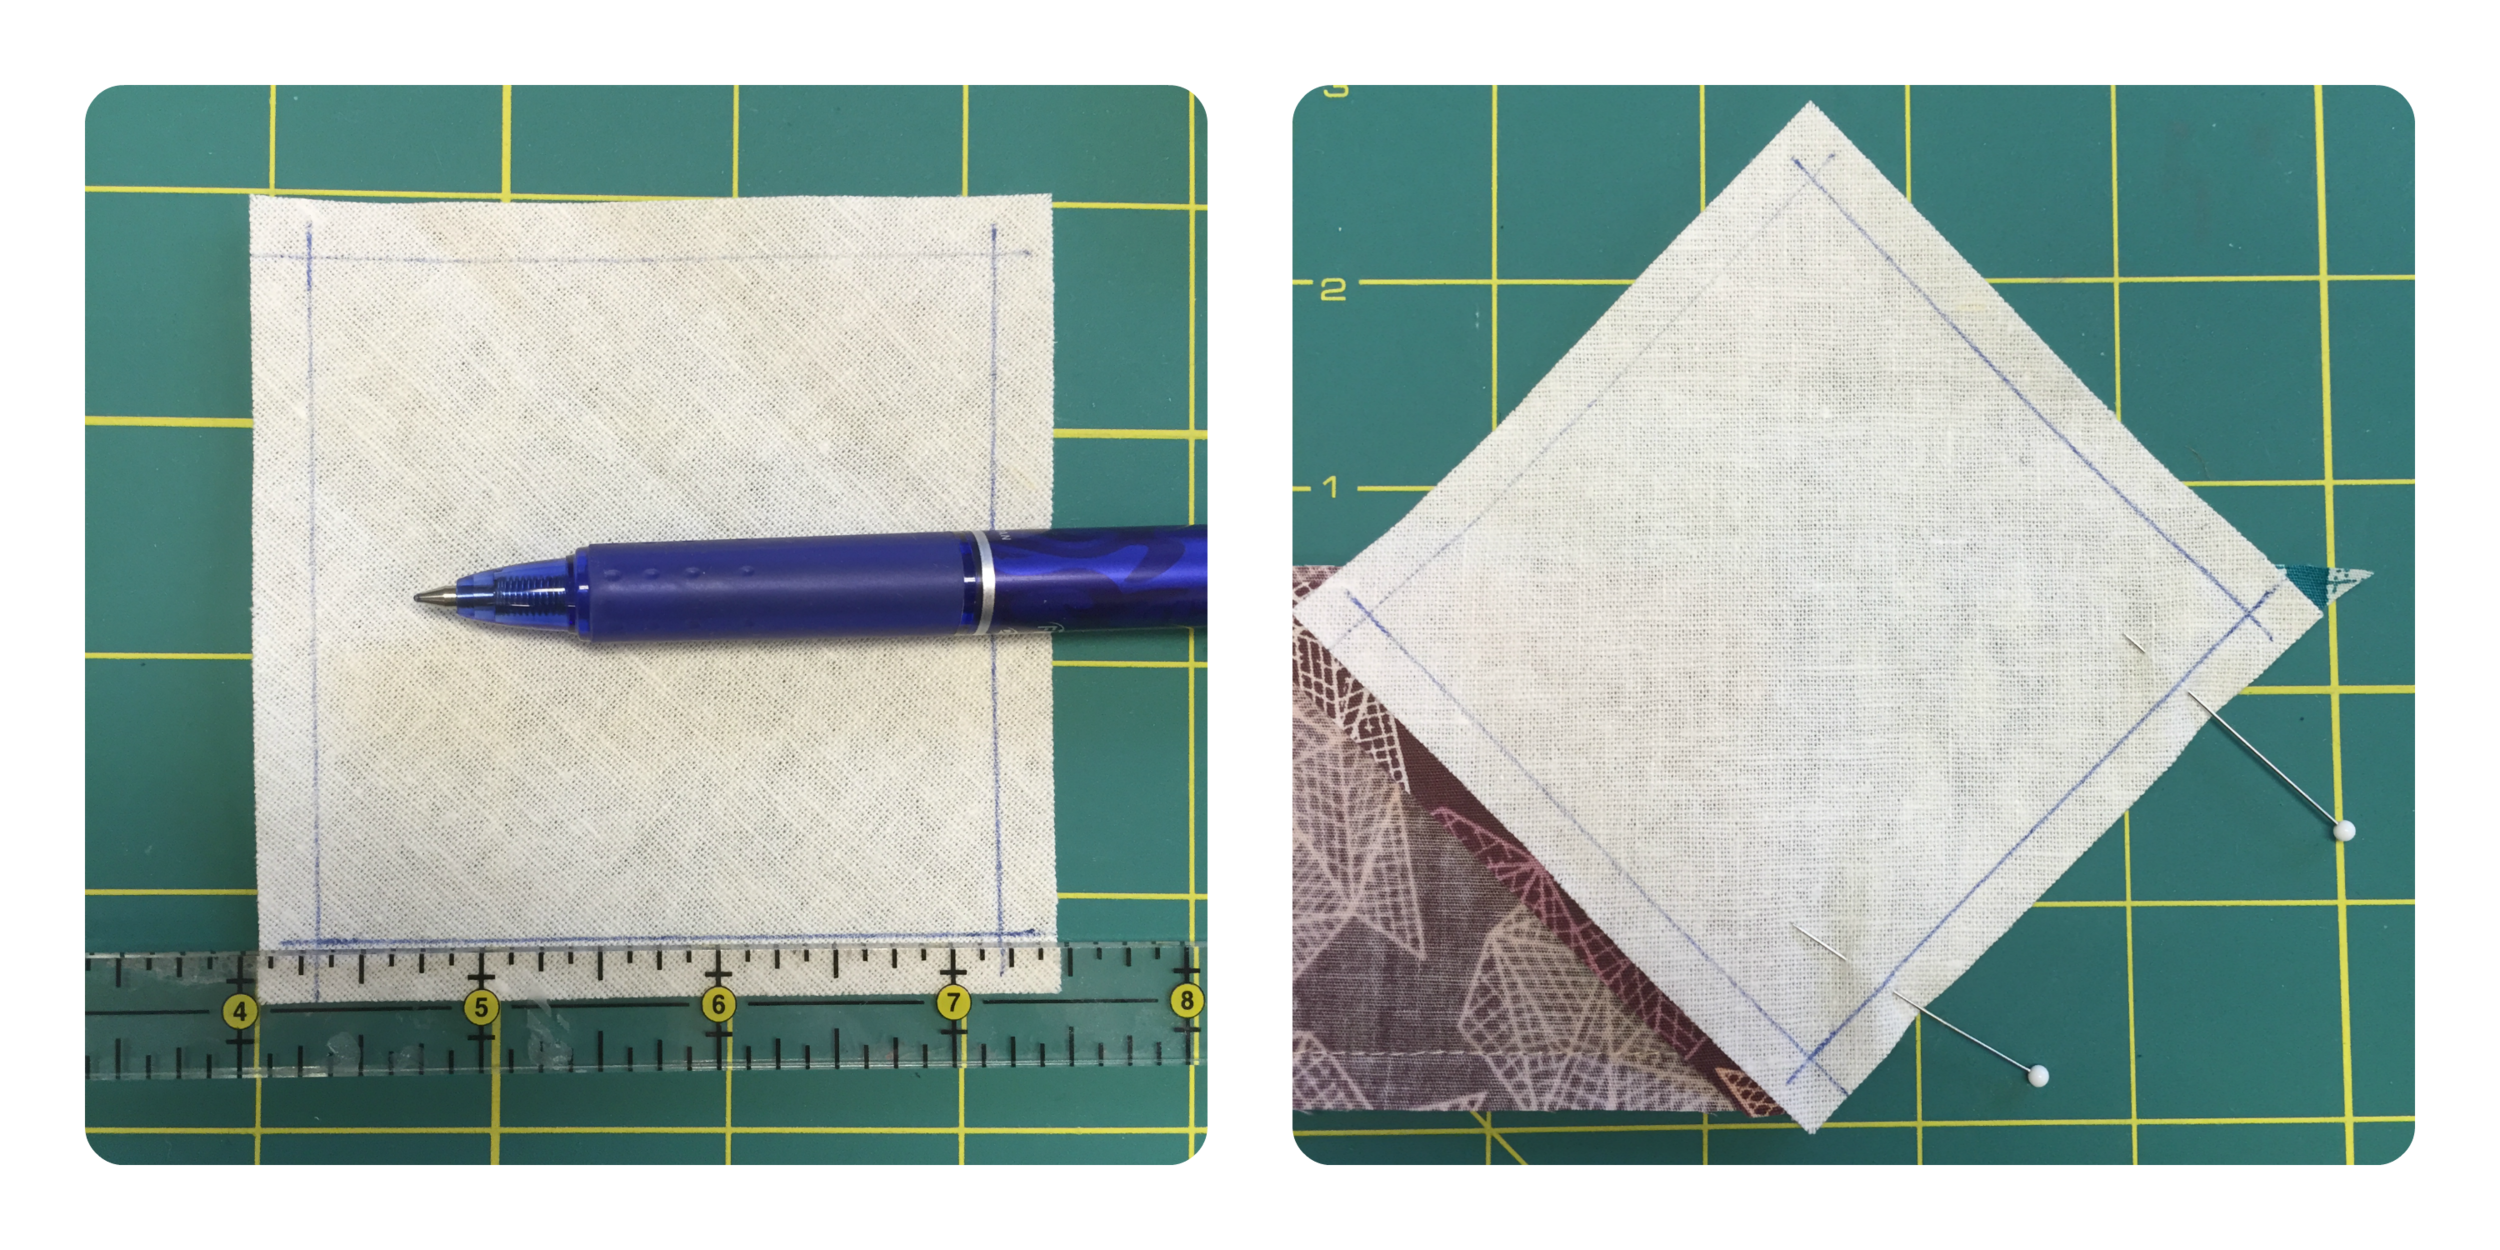
- The photo on the left shows the 1/4" seam allowance drawn on all four sides of the square that will be sewn into the 'Y seam'. I used an iron-off marker, but this is really like training wheels on a bike. You can draw them on a few, but in no time at all you'll understand how the seam is constructed and you'll abandon the pen.
- Pin in place and stitch the seam, beginning and ending where your lines intersect. Be sure to secure the stitching at the beginning and ending of the seam. Tip: for a perfectly flat seam, stop just prior to reaching the intersection, just about the distance of one stitch length. Likewise, when you begin the seam, move just one stitch length away from the intersecting lines.

- Remove the pieces of fabric from your machine. Line up the raw edges of the fabrics for the other seam. To do so, you'll need to fold your previously sewn seam out of the way.
- This laser guidebeam sure comes in handy when sewing across lines, especially imaginary lines! (Thank you, Baby Lock!) Another good excuse to ditch the marking pen! Stitch from point to point and press your seams so that everything is nice and flat!

This little quilt will be my version of the Agate Quilt from The Purl Bee. I'll share more of my quilt in a few days...it must be ready for Spring Quilt Market in less than 2 weeks!
Thanks for visiting! Now let's show those 'Y Seams' that we have no fear! Happy Sewing and God bless! Maxie
How to Match Fabric Patterns in Seams
Many times a seam is required to make strips or borders long enough for our quilting projects. When using a patterned fabric, sometimes those seams are less than attractive, and if I know it's there, my eye falls right to it before it sees anything else! Here's a little tip to make those seams invisible! I use this technique almost every time I have to sew patterned fabric together. (I have a video planned to show you how to piece a quilt back with an invisible seam!)

Sometimes we can get away with a diagonal seam to camouflage the join, but not so with this fabric.

I cut the two strips shown above in the same place from the yardage. (meaning that I used the same rows of bugs for each strip. Doing this ensures that I can find a spot in the pattern repeat where the bugs will line up exactly.) Make a nice, straight cut across the fabric at the end of one of the strips.

Using a spray starch alternative (Flatter is my favorite; plant based, no toxic stuff in my fabric), press the edge that you just cut to the wrong side of the fabric.

Look closely at the spot the stylus is pointing to...I've lined up the bugs perfectly by finding where that pressed edge matched the pattern in the strip I want to attach it to. The next step is to use a fine line of basting glue to hold the edges together. I've not pictured this step, but lift up the top folded edge and place the glue just on the underside edge of the fold. Use only a very thin line of glue. Carefully replace it and press it with the iron to dry the glue.

Here's a look at the two strips glued together, with the top strip flipped back so that you can see the nice crease that pressing has made.

Take the strips to the sewing machine and stitch them together, right in the crease. Trim the excess fabric away, leaving a 1/4" seam allowance.

Done.
Thanks for visiting!
